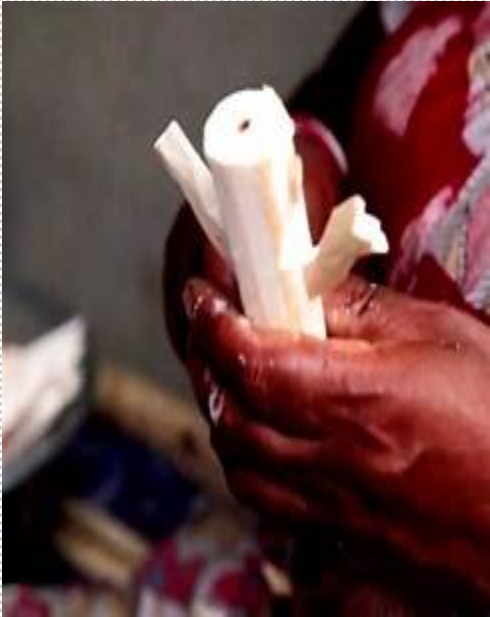
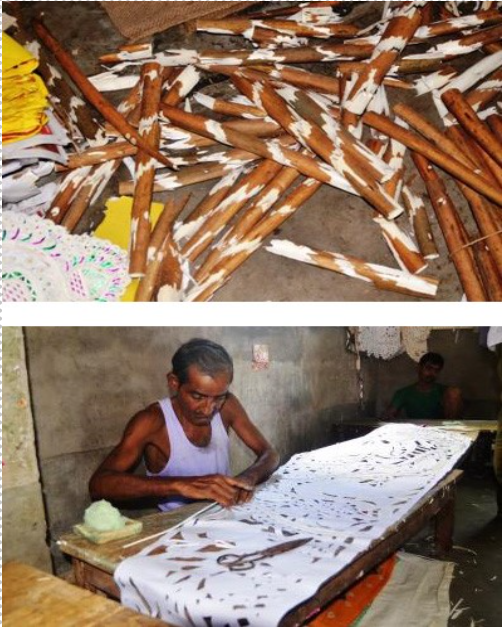
Here’s a step-by-step guide on how to make a Shola Topor (for the groom) and Mukut (forthe bride):
Materials Needed:
- Sharp blade or cutter
- Scissors
- Glue (white craft glue or fevicol)
- Thread or thin wire (for structure)
- White cardboard (optional, for base)
- Pencil & ruler
- Decorative items (optional): sequins, golden thread, glitter
How to Make Shola Topor (Groom’s Headgear):
Step 1: Create the Base , Cut a strip of cardboard (about 24-28 inches long, 3-4 inches wide). Form it into a cone to fit the groom’s head. Secure with glue and tape. Let dry.
Step 2: Cut the Shola, Use the blade to slice thin, decorative patterns like spirals, curls, flowers.
Traditional designs include:
- Conch shapes (shankho)
- Lotus petals
- Tiny spirals and twisted rods
Step 3: Attach Shola Decorations, Glue the Shola pieces onto the cone base in layers, starting from the bottom up. Alternate between different shapes to add texture and detail. Add a central top finial (a pointed piece or small flag-like piece).
Step 4: Add Support Use thread or thin wire inside the cone to reinforce structure.
How to Make Shola Mukut (Bride’s Crown):
Step 1: Base Frame, Use a thinner strip of cardboard or Shola to form a tiara-style. Ensure it fits across the forehead and around the head comfortably.
Step 2: Shola Designs, Cut petal and leaf-like shapes from Shola.
Create a symmetrical pattern – typically with a central flower or conch.
Step 3: Assembly, Glue the designs onto the tiara base. Add small Shola pieces or pearls on the sides.
Step 4: Finishing Touches, Let everything dry completely.
Tips:
Practice shaping Shola first-it’s soft Use reference photos of traditional designs. “Patience is key, intricate detailing is what makes these pieces special.